My kids love those fake plastic spider rings, so I picked up a package of 50 for a dollar. Spider rings make cute Halloween cupcake toppers, especially when combined with an edible chocolate spider web. Last weekend, I figured out how to make white chocolate spider webs using melted chocolate chips and my cupcake decorating tool.
Note: I tried to use a plastic baggie with a slit cut in the point – but the melted chocolate makes it too hot for me to hold the bag. I am convinced that using cake decorating tips or a fine-tipped bottle is the least messy way to do this.
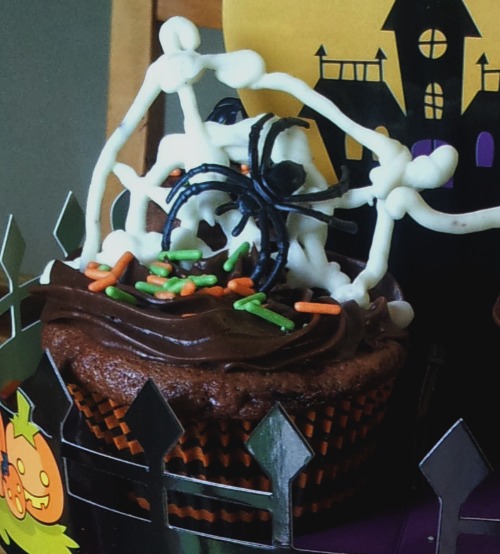
Although I’m sure there are many Marthas who can make better chocolate spiderwebs than me, here is how I make chocolate spiderwebs at my house! The good news is that even if they don’t turn out perfect, they still look just fine once you stick them on top of a cupcake. Add a fake plastic spider ring and voila!
My wordy directions may make it seem more complicated than it really is. It’s not that hard but may take a few times trying to draw a web to get it just right.
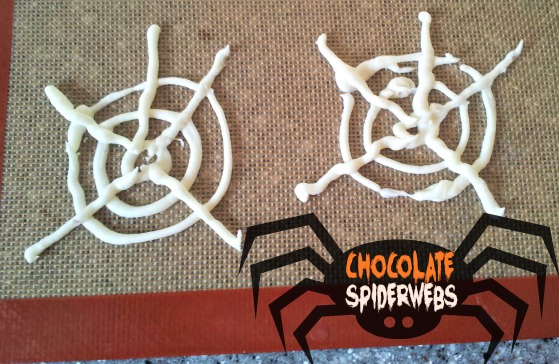
First, you’ll need to line a baking sheet with parchment paper or a silicone baking mat. Then, melt your chocolate chips. I chose white chocolate chips because my cupcakes were iced with brown chocolate. Plus, spiderwebs are white, right?
If you have a double boiler, melt the chocolate chips there. Or you can melt them in the microwave using a microwave safe bowl. Just be sure to stir the chips every 30 seconds until they are completely melted. It usually takes mine about 2 minutes. Don’t overcook or the chocolate will scorch.
Once the chocolate chips are melted, put them into a cake decorating tool with a fine tip for drawing. You’ll need to work quickly because the chocolate will harden as it cools, making it impossible to draw with.
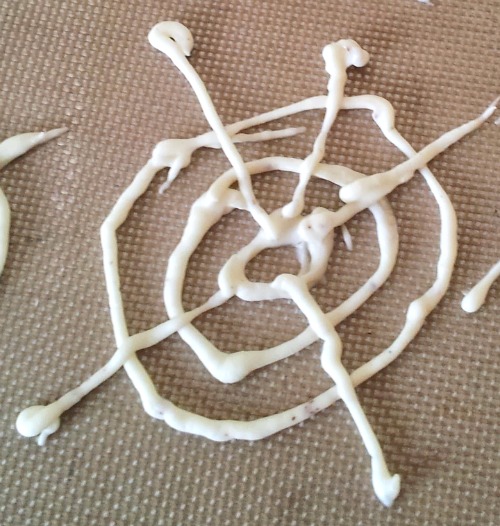
You’ll want to try to draw a pattern of three chocolate circles. Start with a small one and then draw a bigger circle around that, then a bigger circle around that.
Once you have the circles drawn, draw a chocolate X across the top of them (pick up your tip so the smallest circle does not get covered by the X). Then draw a single line from the top middle of the spiderweb all the way in to the smallest circle. Gosh, am I making this so confusing or what? I hope the pictures help show you what I’m trying to say here.
Put the chocolate spiderwebs in the freezer to cool. They need to be fully hardened before you can use them to decorate your cupcakes.
I hope you have fun decorating your Halloween goodies with these chocolate spiderwebs. Let me know if you have any questions about how to do this by leaving a comment below. See more Halloween ideas when you follow my Pinterest boards.
If you have any tips or tricks for making chocolate spiderwebs, please feel free to share them in the comments.


TrippyCusp93 says
Wow, these are adorable & look delicious! The spiderweb is an awesome touch, too…super creative. I’m sure the kids would love these!
Small Footprints says
Oh how cute! I could use vegan chocolate chips … what fun! Thanks for sharing!