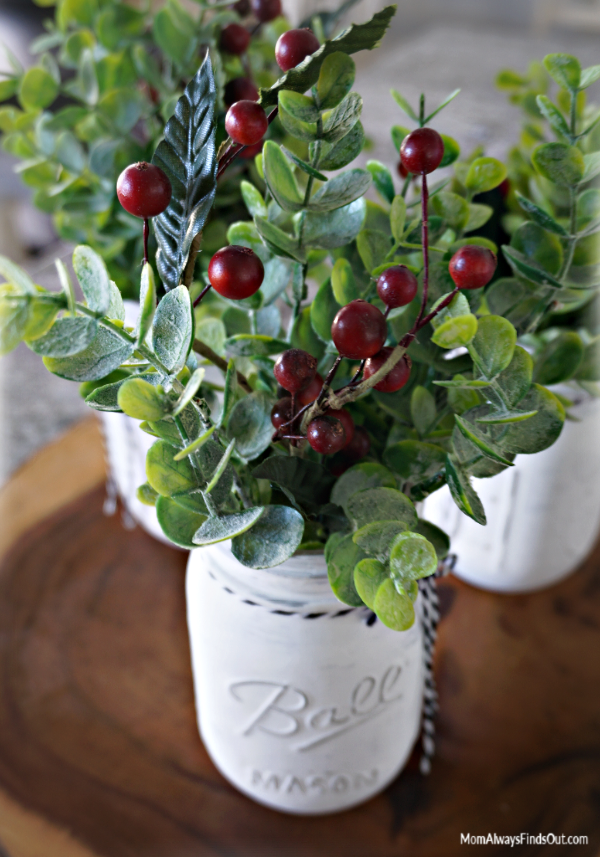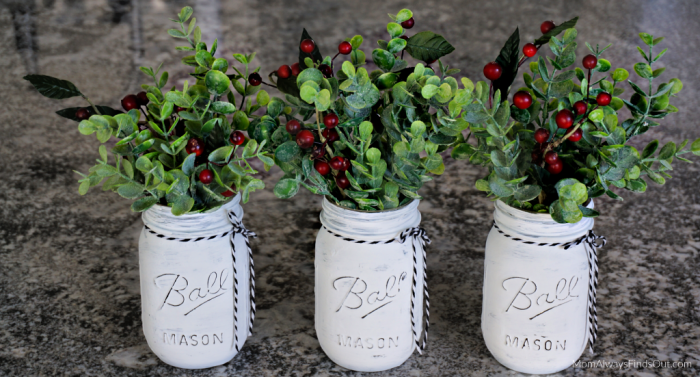
Chalk painted mason jars can be one of the most useful rustic home decor items. Create a mason jar farmhouse centerpiece in minutes! Switch out the greenery to match any season, holiday, or color scheme.

[bctt tweet=”DIY Rustic Mason Jar – Make a mason jar farmhouse centerpiece in minutes! Switch out the greenery to match any season, holiday, or color scheme. ” username=”momfindsout”]
For convenience, I have added my clickable Amazon affiliate links to items similar to the ones I used in the list below.
Painted Mason Jar Decor Craft
Tools and Materials needed:
- Pint Size Ball Mason Jars
- White Chalk Paint
- Sand Paper
- Foam Paint Brush
- Black & White Baker’s Twine
- Greenery (Faux Eucalyptus pick)
- Red Berries (Faux Holly Berries with Green Leaves pick)
- Craft Scissors
Directions:
1. Use foam brush to apply a layer of chalk paint to the outside of mason jar. Allow to dry completely.

Note: I ended up painting the jars all the way up to the top as seen in final photos.
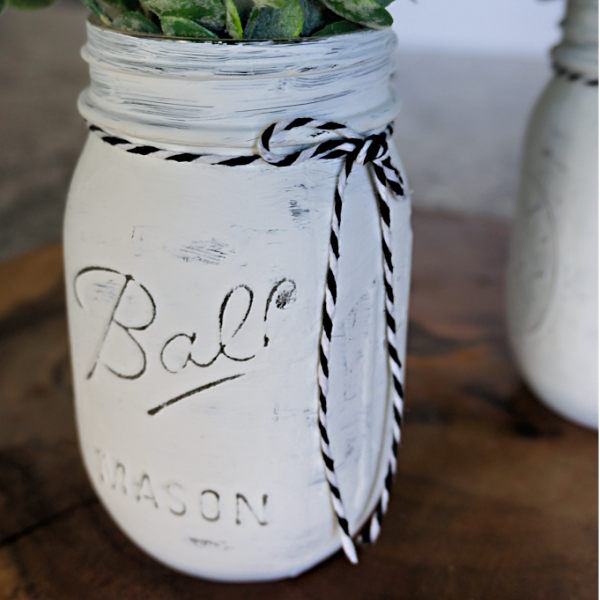
2. Use sandpaper to lightly sand over the raised parts of the jar where a distressed mason jar look is desired. I sanded paint off the “Ball Mason” mark and some of the measurement marks.
3. Arrange greenery and berries inside the jar.

4. Tie a length of baker’s twine around the mason jar near the top, where the canning ring would normally sit. I tied a simple bow with a double knot for security. Use scissors to trim the ends of the twine to desired length.
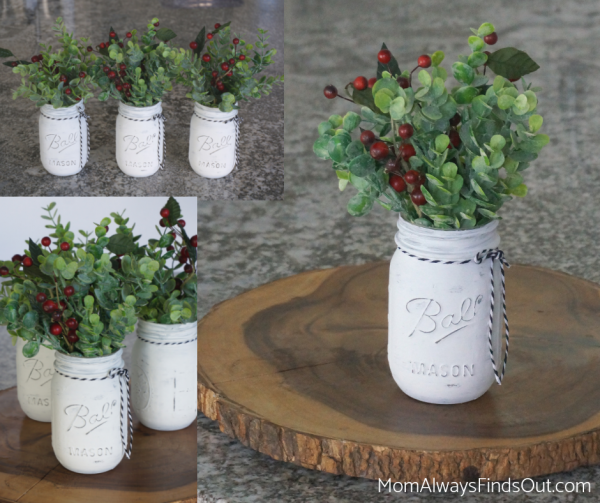
Your chalk painted mason jar centerpiece is ready to display. Line painted mason jars along a windowsill, group jars together for a table centerpiece, set them on the fireplace mantle or anywhere else you want to add a rustic mason jar decoration.