Cake pops are one of my favorite dessert trends. Another one of my favorite dessert trends is Cake Pops’ cousin, OREO pops. I am going to show you just how to make OREO cookie pops, it’s unbelievably easy. There are a few steps involved, but they are all easy steps.
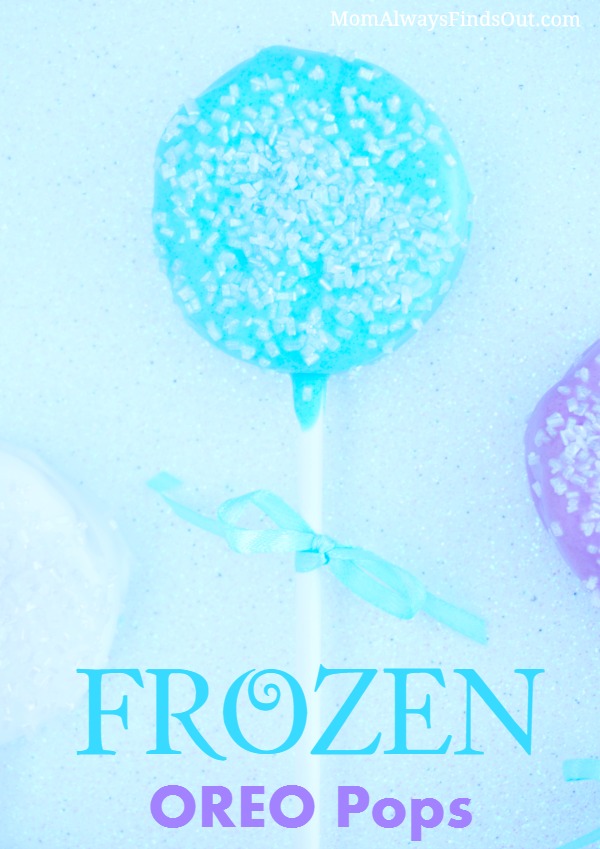
The cool thing about chocolate dipped OREO dessert recipes is that they can be easily adapted to fit holiday colors and birthday party themes. We had a Disney FROZEN party and I decided that white chocolate dipped OREOS on a stick would be perfect. The OREO pops could look a lot like Elsa’s snow wand. I added a few drops of Neon food coloring to the white chocolate to create other FROZEN-inspired colors like the blues and purples.
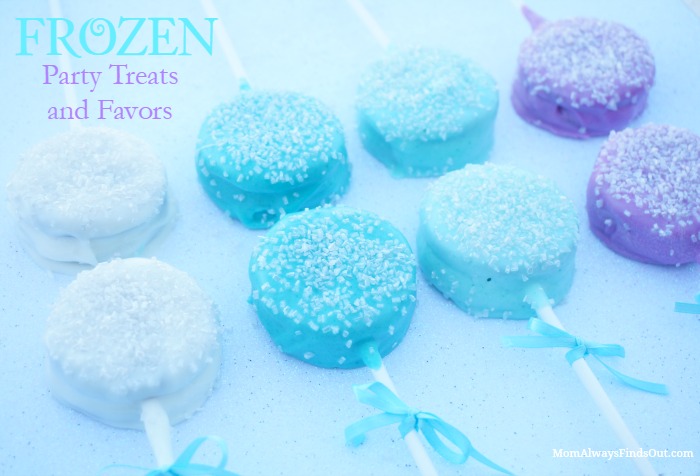
If you don’t want to serve your OREO Pops at the party, they are also fun party favors. Simply wrap them in a cellophane bag and they are ready to hand out.
How to Make OREO Pops on a Stick
What You’ll Need:
*Wilton cake pop sticks
*White Chocolate Chips (about 16 ounces)
*Crisco shortening (a small amount added to melted chocolate)
*OREO cookies (I used the MEGA stuffed OREOs)
*NEON food coloring (I used McCormick’s Purple and Blue)
*Colored Sprinkles (White, Purple, Blue)
*optional: ribbon (for tying bows around each cake pop stick)
How To Make OREO Pops Recipe:
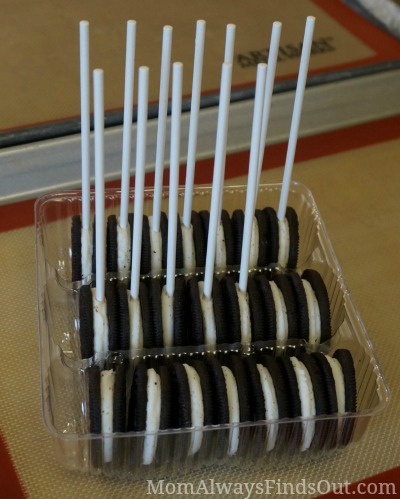
Although you can use any variety of OREO cookies, I think it is easiest to use the MEGA Stuffed OREOs. The Double Stuffed OREOs would probably be easy to use, too. The reason more OREO cookie filling is better is because you will need to insert a lollipop/cake pop stick into it. The Original variety of OREOs may require you to actually open up the cookie, put the stick in and put the cookie back together. You do not have to take apart the MEGA Stuffed OREOs to put the stick inside.
Step One: Place one lollipop/cake pop stick inside each OREO cookie. The stick should be placed in the center of each cookie, and not be placed so high that you can see the tip of the stick poking out at the top.
Step Two: Melt chocolate chips. I used the microwave to melt mine. I placed about two cups of white chocolate chips in a microwave-safe bowl and turned in on 1 minute. Then stirred. Then put back in the microwave for 30 second intervals, stirring in between, until chips were completely melted. (It only takes a couple of minutes to do this.) Tip: Dissolve about a teaspoon of Crisco shortening into the melted chocolate to help make it smooth and shiny. I highly recommend doing this because it makes dipping so much easier for pretty pops.
If you are making white chocolate dipped OREOs, go ahead to Step Three. If you are adding food coloring to your melted chocolate, now is the time to stir it in. Add just one or 2 drops at a time, stirring, until color reaches the desired shade.
Step Three: This part is easy but can get a little messy. That explains why there’s no photos of this part – my hands were covered in chocolate! Carefully pick up an OREO cookie with the stick inside and dip into the chocolate. I used a spoon to help me get the cookie completely covered, especially around the stick area. The chocolate will help keep the OREO cookie on the stick (once it hardens). Carefully place the OREO pop onto a flat surface covered with parchment paper to dry. I put my pops on a baking sheet with silicone baking liners.
Step Four: Before the chocolate hardens, sprinkle the OREO pop with chosen color of sprinkles.
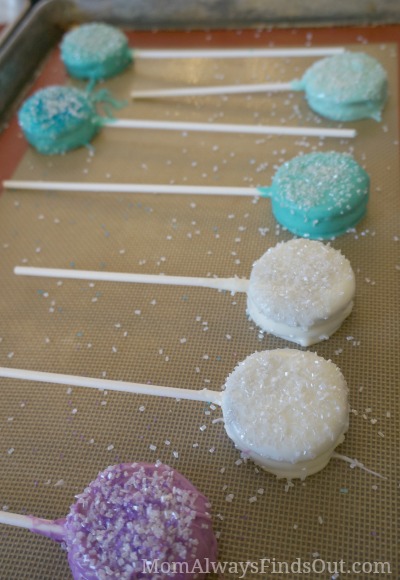
Step Five: Allow OREO pops to cool and harden. This doesn’t take that long – less than an hour at my house. Carefully remove the chocolate dipped OREO pops from the baking sheet. They are ready to serve! Optional: Tie a bow made from ribbon on the stick, about an inch below the OREO cookie.

If you love FROZEN-inspired treats, check out how to make Sparkle Marshmallows for Elsa and Anna’s hot chocolate!


Uzma says
Hi. Great idea. Thanks. How many days in advance can i make and what is the best way to store it? Thanks xx
Nicole says
Hi Uzma,
I think you could make them up to a week in advance and store them in the refrigerator (in an airtight container.) Or, if you make them farther ahead of time than that, you can store them in the freezer for at least a month ahead of time. I saved some in the freezer for us to eat later, and I can’t remember exactly how many weeks later it was when I finally took them out for us to eat them. But, it was several weeks later and they were just fine.
Hope that helps! Thanks for stopping by! Good luck and let me know if I can try to answer any more questions. –Nicole
Lori says
Any tricks to putting them in the freezer. I want to use dark and milk chocolate along with the white. Will they all freeze well?
Nicole says
Hi Lori,
I used a large plastic lidded container that was long enough to fit the Oreos pops on the stick and lined the bottom with wax paper. Then, I added a single layer of pops, covered it with wax paper and added another layer of pops. So basically just putting a layer of wax paper in between layers of pops so they would not freeze and stick to each other. The dark and milk chocolate should freeze the same way as the white chocolate. Hope this helps! –Nicole
Tracy says
These are awesome! wondering if you could make these 2 days in advance and if so whats the best way to store them?
Nicole says
Hi Tracy! I made these and saved them in the freezer for more than a month, and they were just fine. Of course they need a half hour or so to thaw out once you take them out of the freezer. –Nicole
Tonya Tipton says
These are so cute and from your directions very easy to make. The kids would gobble these right on up, thanks for posting this.
Scarlet Paolicchi (@familyfocusblog) says
I love easy and cute! I pinned these to my DisneySide board!
Nicole says
Thank you so much, Scarlet! I really appreciate that. 🙂 —Nicole
Heather says
These are so pretty!! What an easy recipe that the kids would love! I always try to make things so hard and sometimes the simpler the better!
Nicole says
Thanks so much – yes, if you know me, I LOVE simple! 🙂 Chocolate-dipped OREOS are easy and nobody ever turns them down. LOL